Refacing a LampShade DIY
I love discovering new ways to add pattern to my home and its a bonus when I can upcycle a thrift find! Ive seen people making lampshades with kits using fabric and sticky back metal. Since I saw that first video it has been an idea in the back of my head to try and make my own lampshade with on of my fabrics. If your new here. My names Kelsey, im the artist and diyer behind JoLou Design. I sketch, design and create patterns for many products you have around your home including fabric. On a recent thrifting trip I found a matching pair of lamps.
You can watch the video of this DIY here
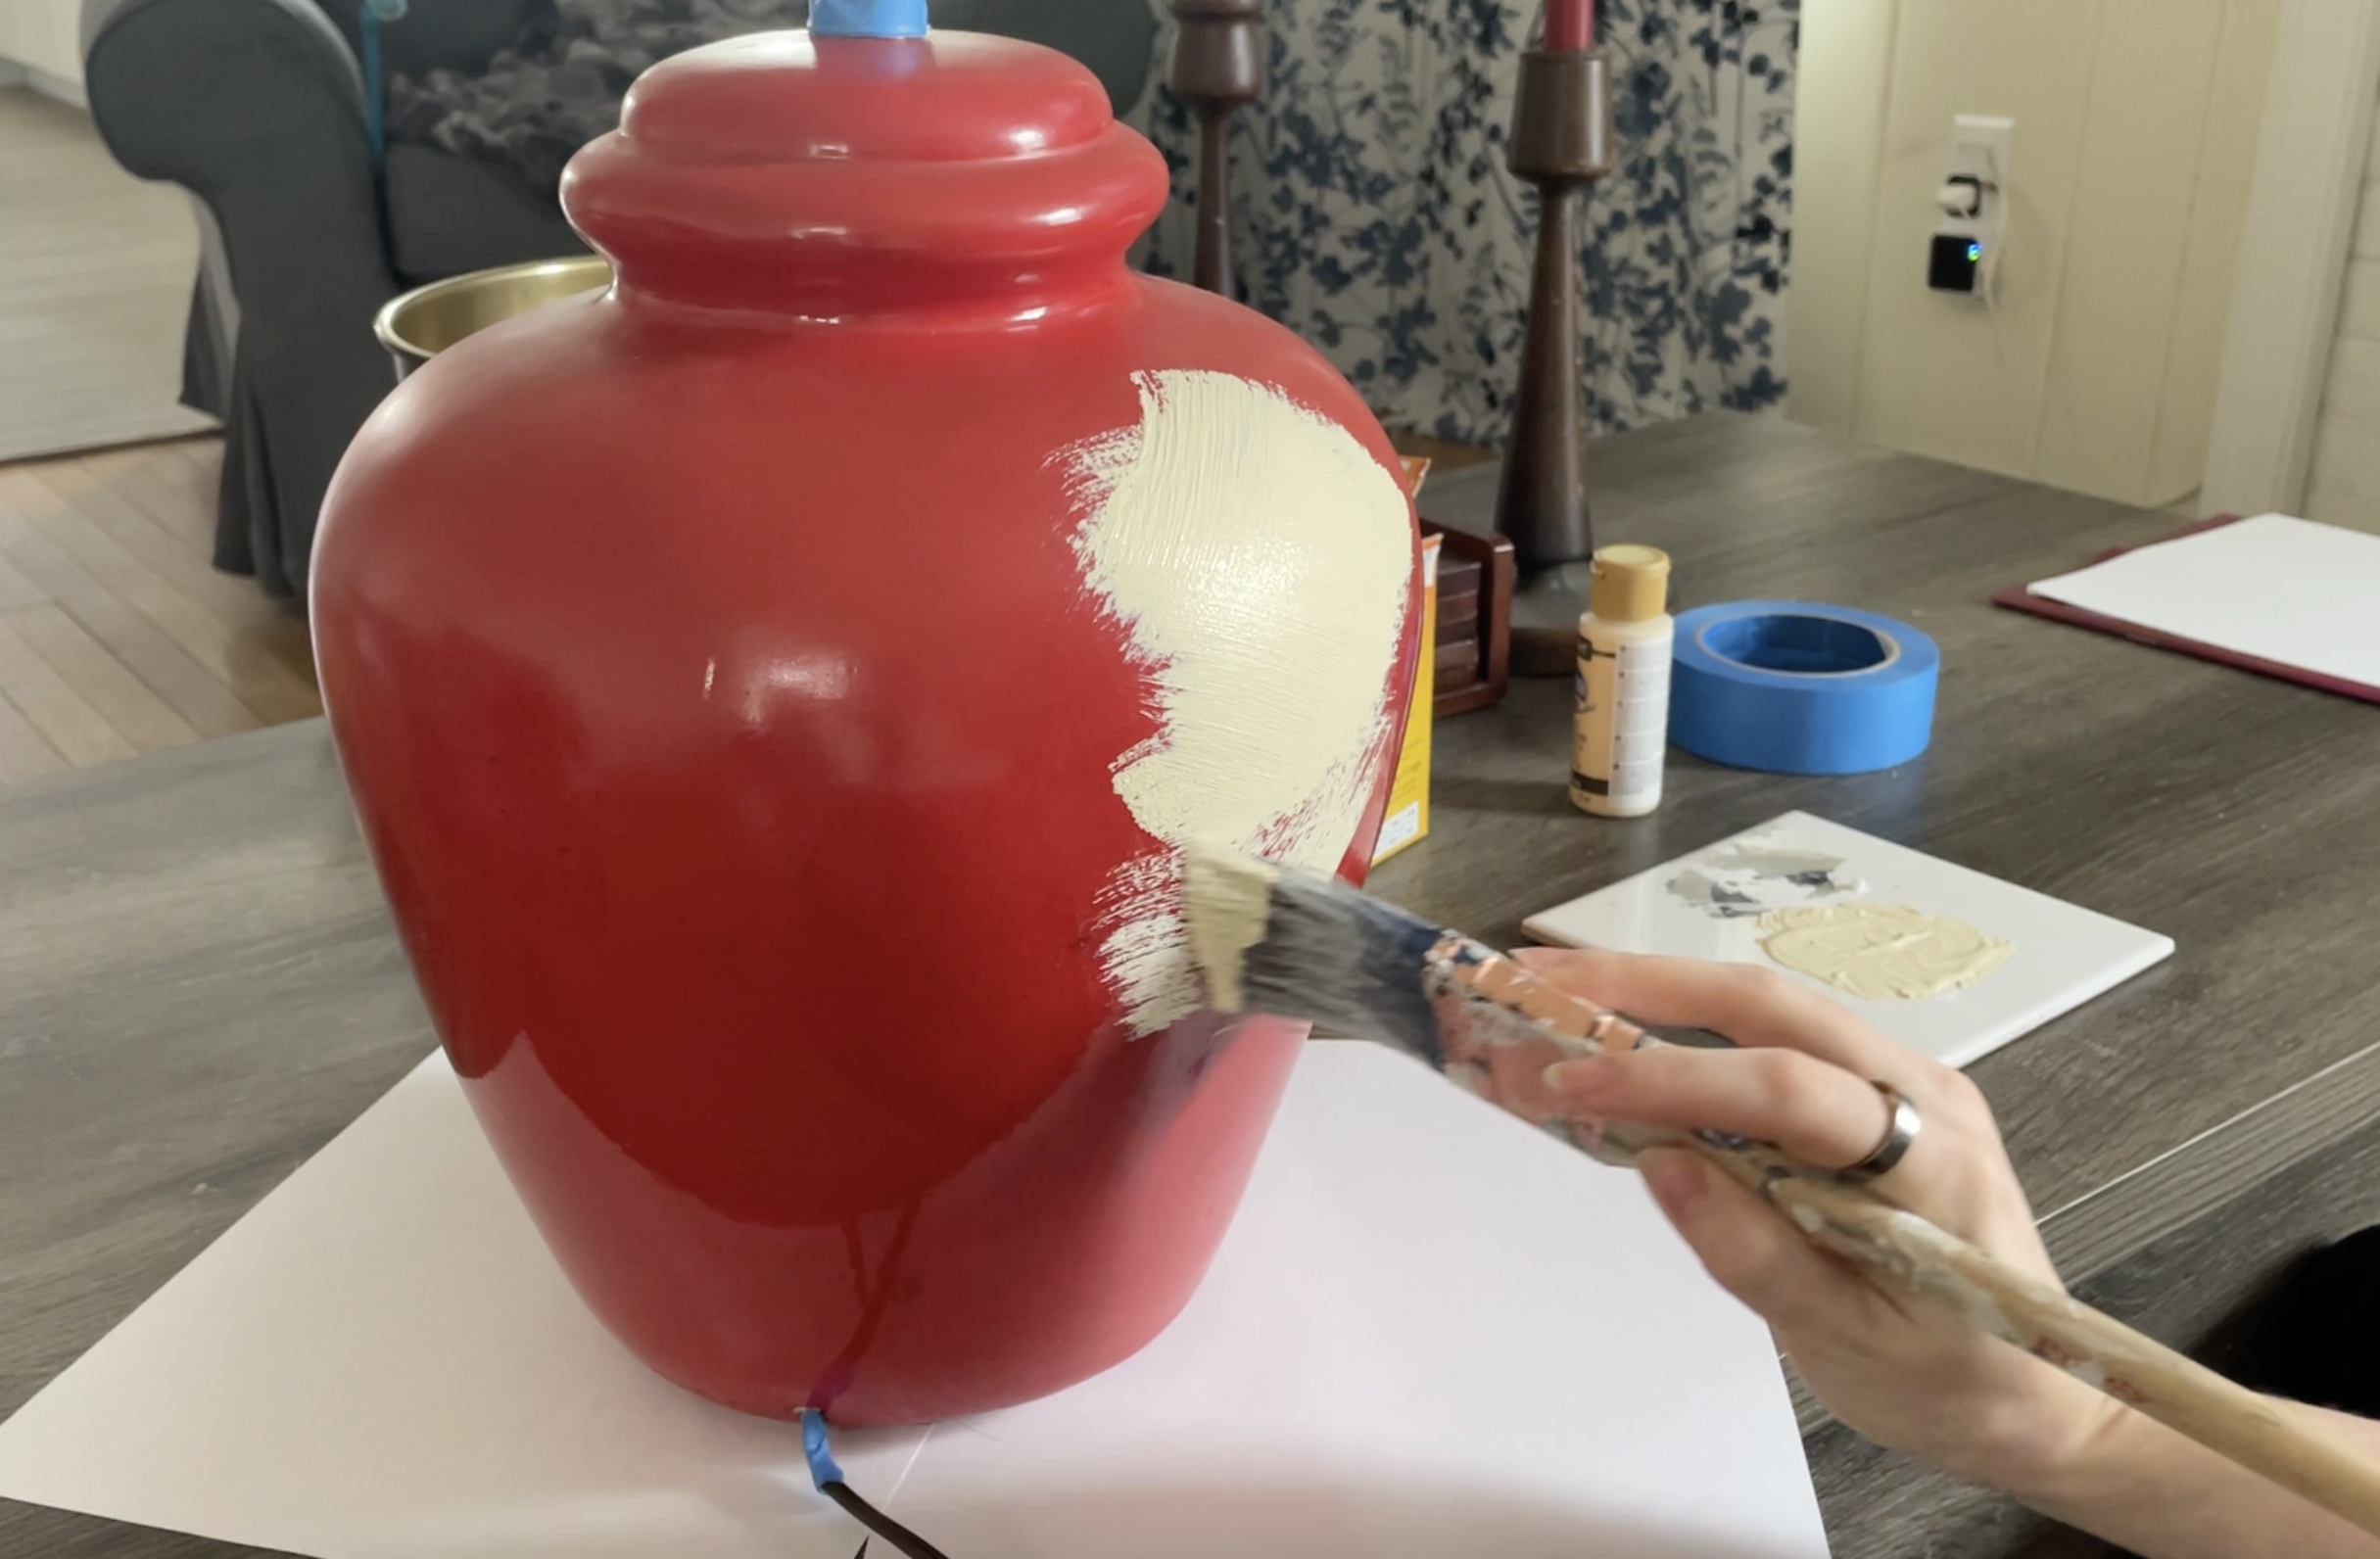
First thing I did was paint the lamp base. It was a bright red color that I wanted to turn into a textured off white. My pattern I designed leans coastal so a soft white lamp base would look really good. To create the texture I mixed a small amount of baking soda into the paint before applying it to the lamp base. The baking soda greats a really nice texture that you can layer with. Ive used this diy texture technique for years and always love how it turns out. The trick is to not use to much baking soda. To much and the paint will become more of a paste consistency. I ended going over the lamp three times until I got the texture I was looking for.
Dont skip the Iron
While my lamp bases where drying I moved on the prepping the fabric and making a template. I got one yard of my ‘Linda’ design to be able to cover both lampshades. After washing it I brought it over to the ironing board to get rid of any wrinkles or creases. You’ll want the fabric to be as crisp as possible. Dont skip the iron. It makes such a huge difference any any fabric project but especially for this diy because you wont want lines in your lampshade.
I then grabbed some printer paper and taped them together to make the template i’ll need to cut the fabric to the size and shape of the shade. To make the paper template lay your lampshade down sideways with the fabric side resting on the paper. Find a place to start, for me it was the seam on the fabric already on the lampshade. Slowly roll you shade while tracing the bottom and top onto your paper template. Take your time rolling and you can always roll back and forth to make sure it is correct. In the end your paper template should be the shape our your lampshade it you had flattened it. Mine had a slight arch almost like a rainbow since the bottom of my lampshade was larger then the top.
Leave a half inch seam allowance on the top and bottom of your template. This will allow enough fabric for you to roll the fabric over the rim and tuck it under creating a cleaner look. I cut out my template and with a measuring tape and fabric pencil marked on my fabric the half inch allowance. Place a cutting mat under your fabric and with a cutting roller I carefully cut out my fabric.

Spray Adhesive is No Joke
Once my two fabric pieces were cut I went ahead and did a dry fit on the lampshades to make sure it would work. Using sewing clips the keep everything in place I went outside to attach the fabric to the shade. To adhere the fabric onto the lampshade I used Gorilla Glue spray adhesive I got from my local craft store. This spray adhesive is no joke. I had to wash my fingers in 100 proof alcohol just to get my fingers to stop sticking together. So for warning this stuff will stick to you.
I started spraying from one end of the fabric taking my time and smoothing out any trapped air bubbles or wrinkles. I kept the sewing clips on as a sprayed so that the loose fabric would not move and cause issues. As much as the spray adhesive was very sticky it did have enough give so that I could still peel the fabric up and reorient it as I need to keep the fabric straight on the lampshade. Once the fabric is attached to the shade you should have the excess fabric on the top and bottom of the lampshade. Using a piece of loose paper cover the inside of your lampshade and spray the loose fabric. With pressure pull the fabric over the rim of the lampshade and tuck it under the rim wiring.
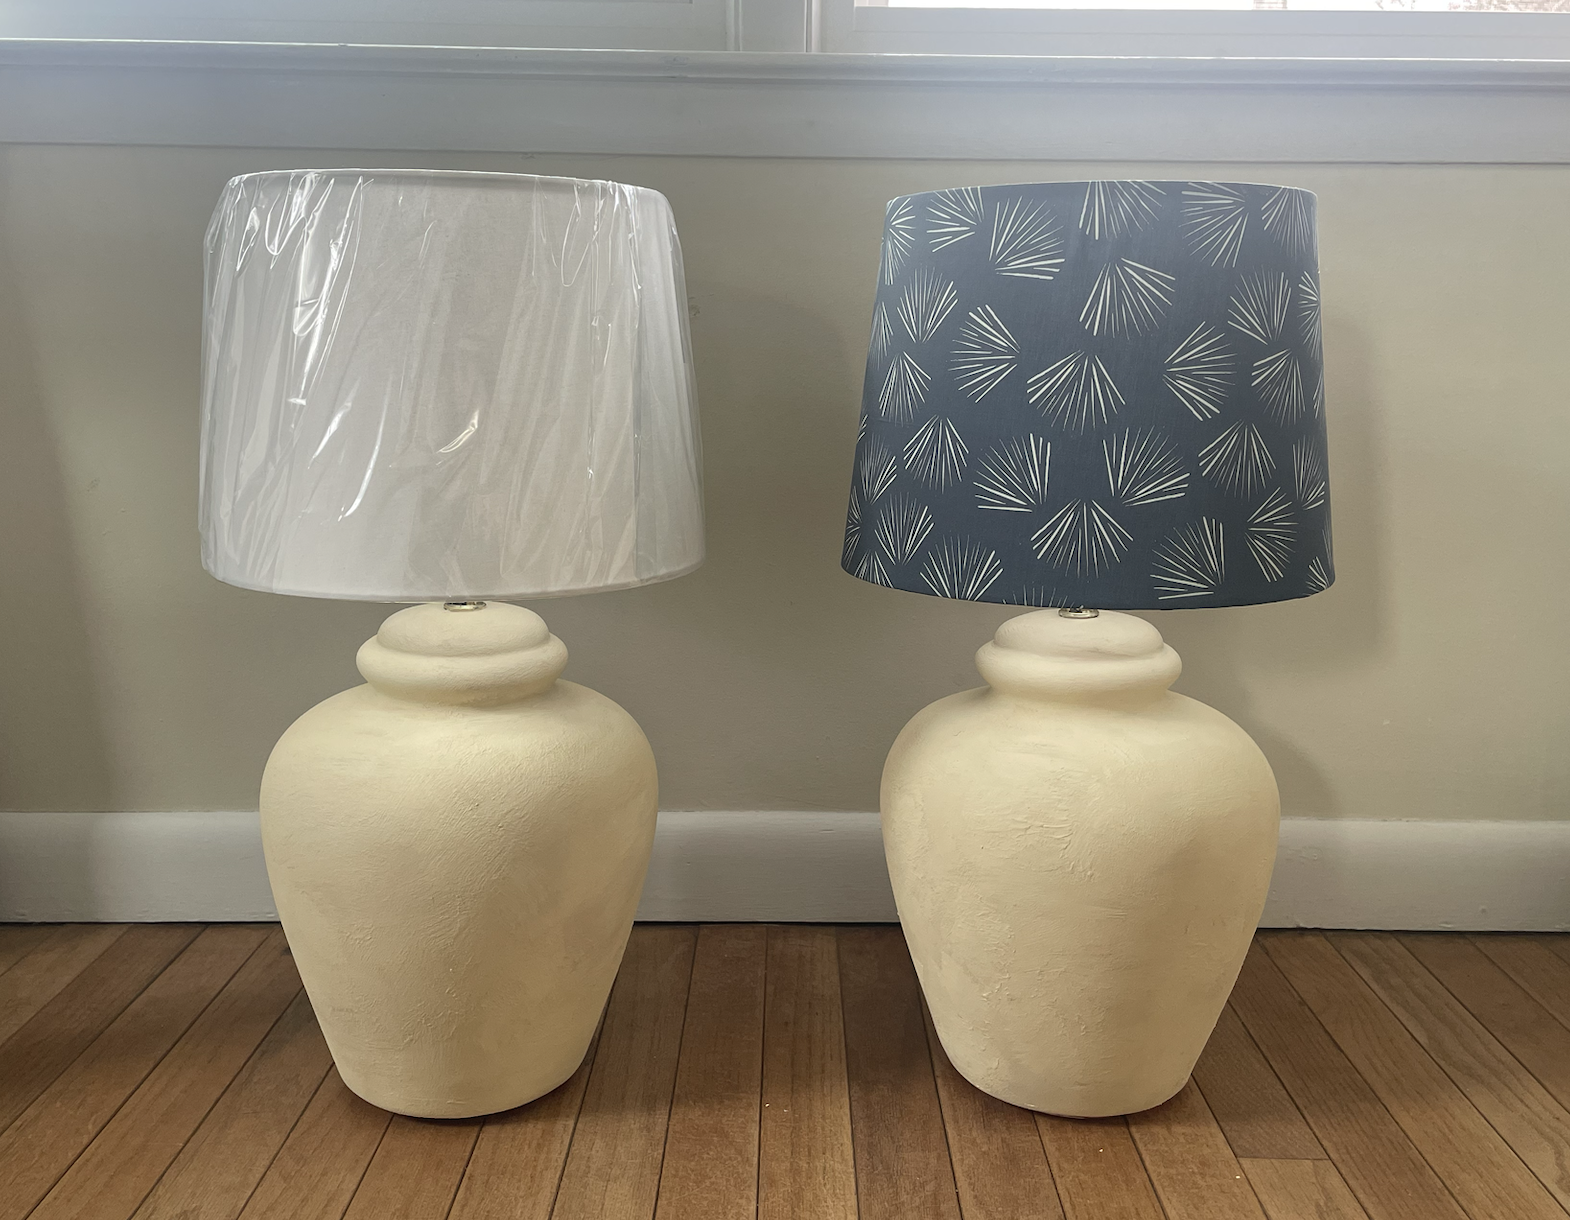
I love how this DIY turned out. It only took me an afternoon to finish both lampshades. I could definitely see changing out my lampshades for season times to give the room a fresh feeling. The lampshades I used for this project were basic white ones from At Home. Going from thrifted red lamps to bright textured coastal lamps with dark blue and white pattern lampshades.